Rucking backpack fit guide
A properly fitted ruck backpack makes every step more efficient, reduces hotspot risk, and keeps you moving farther and faster. This guide explains how a ruck should sit, what to adjust for load distribution, and how to test fit on short training walks before committing to heavier miles.
How a ruck should sit on your body
Start with the hipbelt positioned on the top of your hips so the weight transfers into your pelvis and legs rather than your low back. The shoulder straps should be snug but not tight; they stabilize the load and stop the pack from shifting, while the hipbelt carries the majority of the weight. A chest strap set at mid-chest prevents shoulder slip without restricting breathing.
Key fit checkpoints
Check these items every time you load up:
- Hipbelt contact: the belt should be in solid contact with the hipbones and not ride up when you walk.
- Load height: the top of the pack should not extend above the shoulders where it can tilt you forward.
- Torso fit: many rucks have adjustable torso lengths; confirm the pack’s torso length matches your anatomy.
- Compression straps: use them to pull weight close to your center of mass.
- Padding and pressure points: inspect for hotspots after 10 to 30 minutes and adjust.
Practical steps to fit your ruck
Put the pack on empty and cinch the hipbelt snug. Load weight gradually in small increments so the pack settles naturally. Walk for 15 to 30 minutes, then add more weight and repeat. Pay attention to breathing, posture, and any numbness or pain. Small positional changes often make the most difference: raise or lower the hipbelt two fingers, loosen the shoulder straps an increment, or redistribute plates.
Testing fit with ruck plates and hydration
When you add plates or water you change the shape of the load. Stack heavier plates low and close to the back for stability and place hydration higher but compressed to avoid sagging. If you use a hydration bladder, route the hose so it does not pull the pack forward.
Accessories that improve fit
- Load lifters: angled straps near the top of the shoulder straps that pull weight forward into your hips.
- Anti-sway straps: help control lateral movement.
- Foam backer panels: fill voids and protect against sharp plate edges.
When to consider a different pack
If persistent pressure points, chronic back strain, or a pack that constantly tilts appear despite adjustments, try a different model or size. Long-distance rucks favor packs with larger frames and hipbelts, while short tactical carries benefit from compact rucksacks.
Recommended gear
For long rucks or heavy loads consider the CamelBak Motherlode 100oz Mil Spec Crux Hydration Backpack for balanced hydration and storage:

For a rugged ruck built for heavy use and a predictable fit try the GORUCK Rucker 4.0 20L:

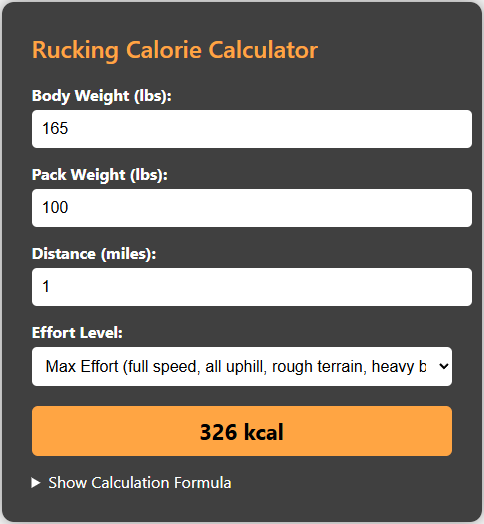
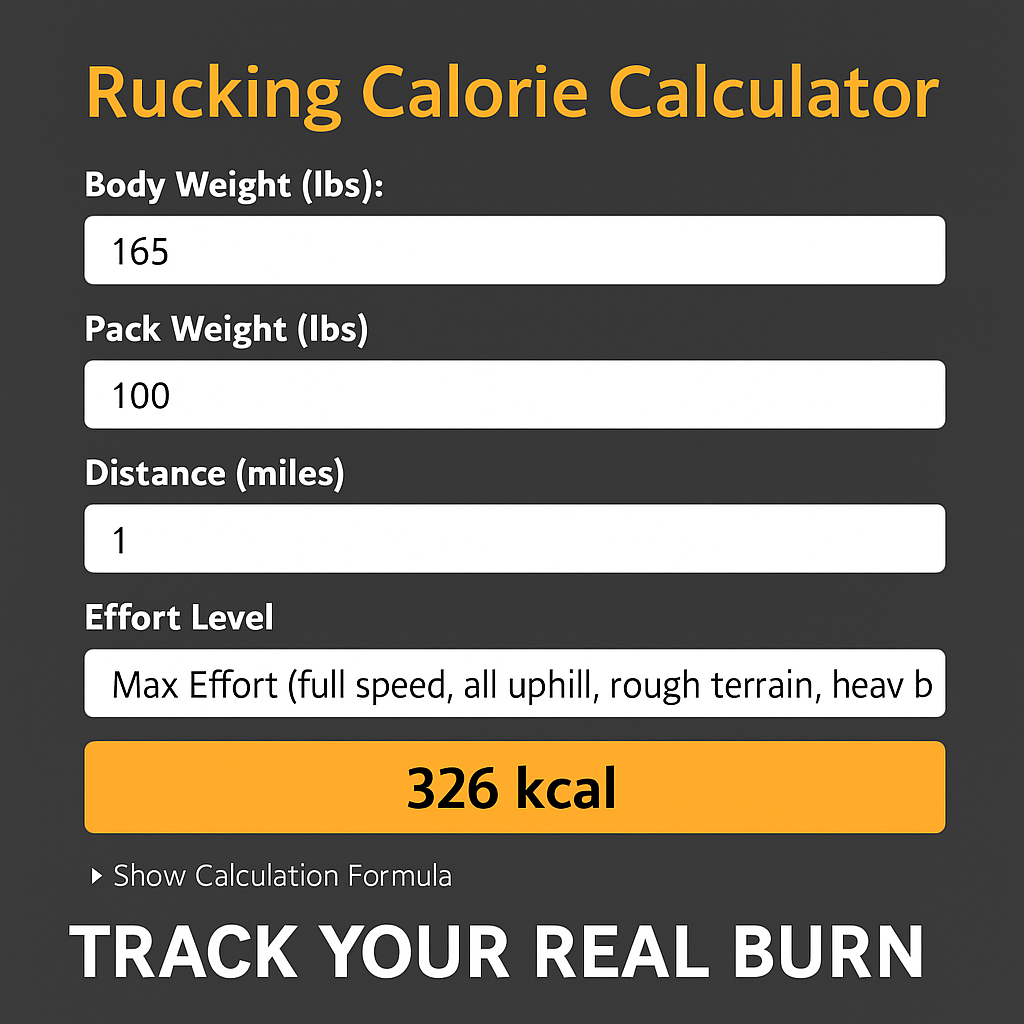
Use a calculator for planning
Before you add heavy miles, estimate caloric cost so you can fuel and recover correctly. Try the rucking calorie calculator:

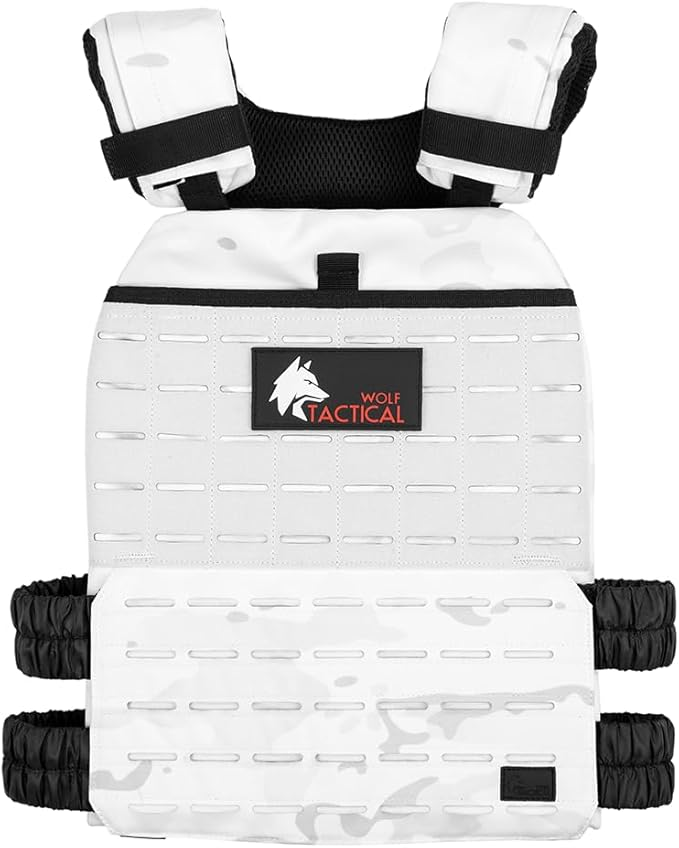
Rucking app and tracking
Use the Rucking Pro app on Android to track weight, vest options, and calorie burn while rucking. The app also links to gear and discounts. Install from Google Play:

Final fit checklist
- Start light and adjust incrementally.
- Hold load close to your center of mass.
- Use the hipbelt to carry the majority of the weight.
- Test ruck fit on short walks before committing to long rucks.
Fit maintenance and break-in tips
Treat fit as dynamic. New packs and new plates need a break-in period. Expect foam to compress and straps to settle over several walks; re-check hipbelt placement and shoulder tension after the first two to three loaded outings. Clean the contact areas and allow the pack to dry between long rucks to prevent odor and breakdown. Replace worn hipbelt padding or strap webbing before it fails; a sudden seam or buckle failure on a long route compromises safety.
Footwear and posture matter too. A stable shoe with good torque control preserves efficient energy transfer from hips to feet when carrying load. Keep posture upright with a slight forward lean from the ankles on steep terrain, not a rounded back. Practice climbing and descending with empty loads to learn body mechanics, then add incremental weight. Small repeated adjustments beat one-time big changes.
A properly fitted ruck is as important as the training itself. Prioritize fit, test often, and you’ll reduce injury risk while increasing comfort and endurance.