Why Rucking for Strength Makes Sense
Rucking isn’t just a cardio workout—it’s a time-tested way to build serious full-body strength. By strapping extra weight to your body and putting in miles, you’re challenging your core, shoulders, legs, and grip in a way that mirrors real-world challenges. Whether you’re carrying a rucksack on trails or a weighted vest on pavement, the constant tension and instability force your muscles to adapt and get stronger over time.
The Science Behind Strength with Rucking
Rucking works because it combines aerobic movement with progressive load, creating both muscular and cardiovascular adaptation. As you carry increasingly heavier loads, your back, glutes, quads, and calves must stabilize your skeleton, while your arms and core work overtime to keep your posture upright. This isn’t isolation strength—this is raw, functional power built from the ground up. Increase your rucking weight gradually and you’ll notice:
- Improved stair climbing and hill hiking ability
- Stronger glutes, calves, and lower back
- Better overall conditioning for real-world tasks
Best Gear for Strength-Focused Rucking
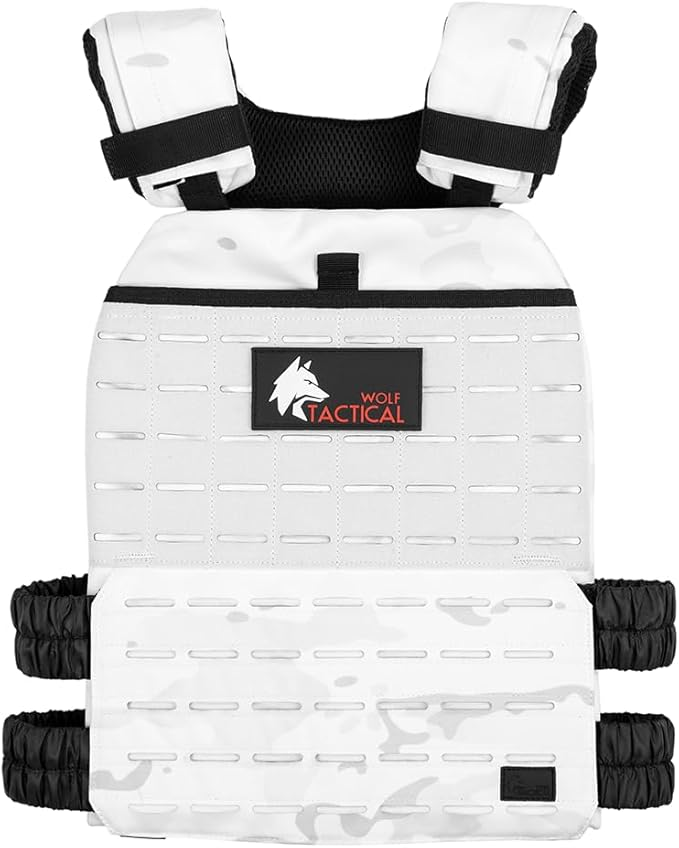
Weight selection and gear matter. For building serious strength, look beyond traditional backpacks. The Kensui EZ-VEST MAX V2 is a favorite for adding heavy plates securely while maintaining range of motion for sprints or steps.

If you want maximum versatility and hydration on long sessions, the CamelBak Motherlode 100oz Mil Spec Crux Hydration Backpack offers space for weight plates plus hydration for extended workouts.

Programming Rucking for Strength
To maximize strength benefits, approach rucking the way you’d approach progressive resistance training. Start with a load around 10% of your body weight, and focus on covering varied terrain. Every 2–3 weeks, increase that weight by 5–10 lbs or add elevation. Mix in stairs, hill repeats, and short sprints for extra stimulus.
- Short and heavy: Try 30–45 minutes at 30% bodyweight brisk walking
- Long and moderate: 60–90 minute ruck at 20% bodyweight, focusing on maintaining posture
- Intervals: 5 min easy, 5 min fast-paced, repeat for 30–40 min
Track Your Calories and Strength Progress
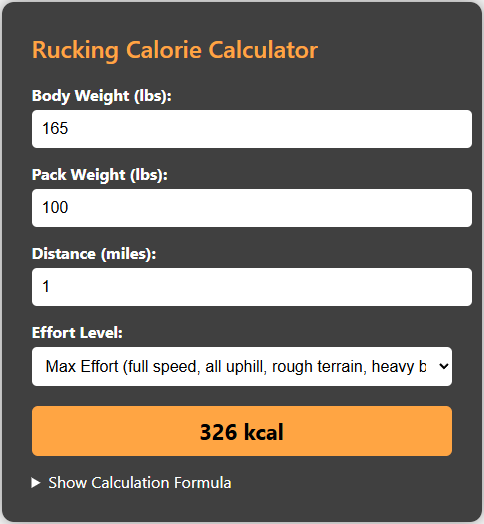
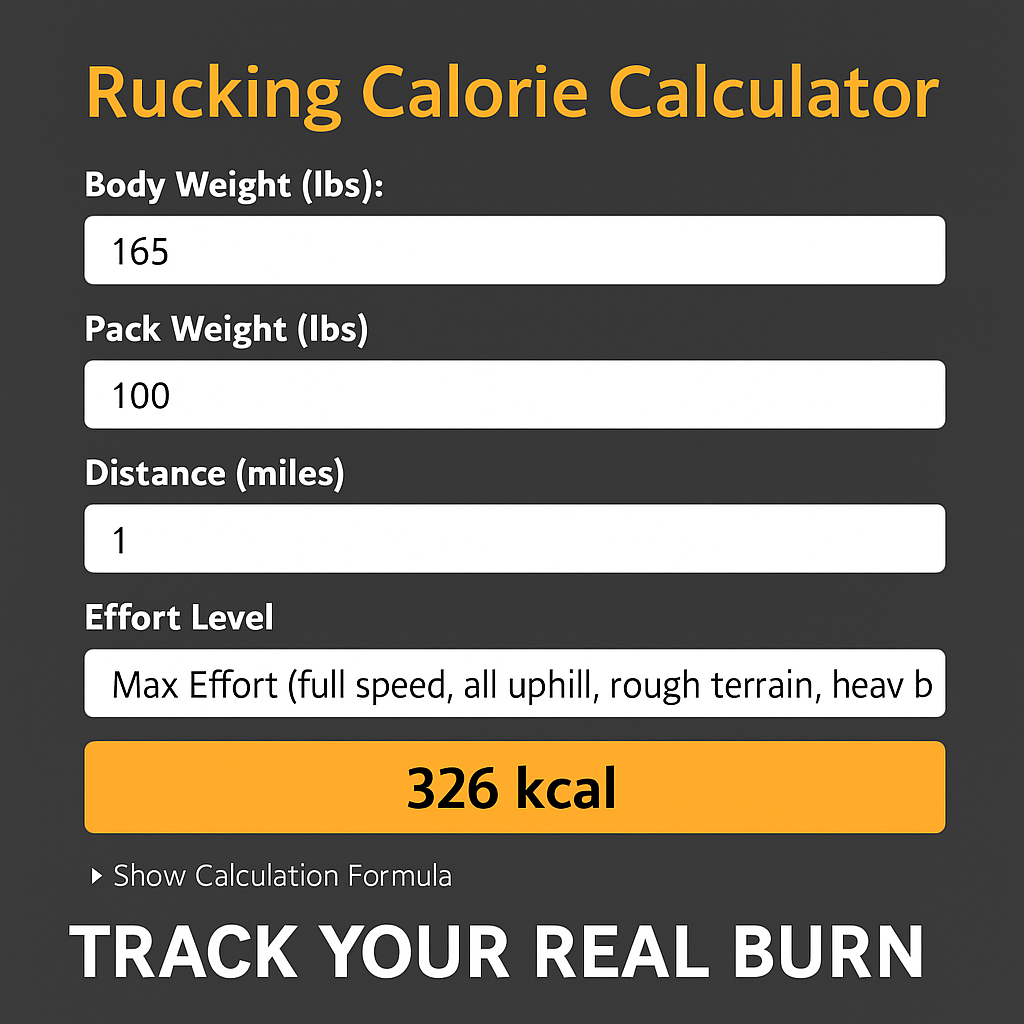
To ensure you’re progressing—and eating to fuel your training—track your calorie burn. Use the Rucking Calorie Calculator to estimate your energy needs based on distance, weight, and pace.

Try the rucking calorie calculator here to dial in your nutrition and recovery for better strength results.
Final Tips
Rucking for strength is about consistent, progressive loading and challenging your muscles in the real world. Focus on technique, use the right load-carrying gear for your goals, and watch both your endurance and power skyrocket.