Why rucking 5 miles a day works for weight loss
Rucking five miles a day is a repeatable, low-cost way to burn calories and build consistent daily energy expenditure. Rucking combines walking pace with extra load — typically a weighted vest or a ruck — to raise heart rate without the pounding of running. For steady weight loss you need a calorie deficit, and rucking creates that deficit while preserving strength and posture.
How to build a sustainable five-mile daily routine
Start with realistic pacing and load. If you’re new, begin without weight or with a light vest (5–15 lb) and build to a load that challenges but doesn’t break recovery. Five miles at a brisk rucking pace will take roughly 75–100 minutes depending on terrain and load. Prioritize two things: consistency and gradual progression.
- Week 1–2: 3–4 days per week, light load, focus on form.
- Week 3–6: increase to 5–6 days if recovery is solid; add 5–10% load each week.
- Long term: keep one heavier day, one active recovery or mobility day.
Calorie math and tracking
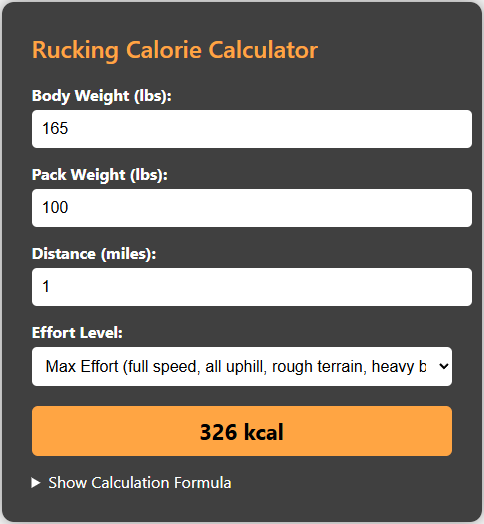
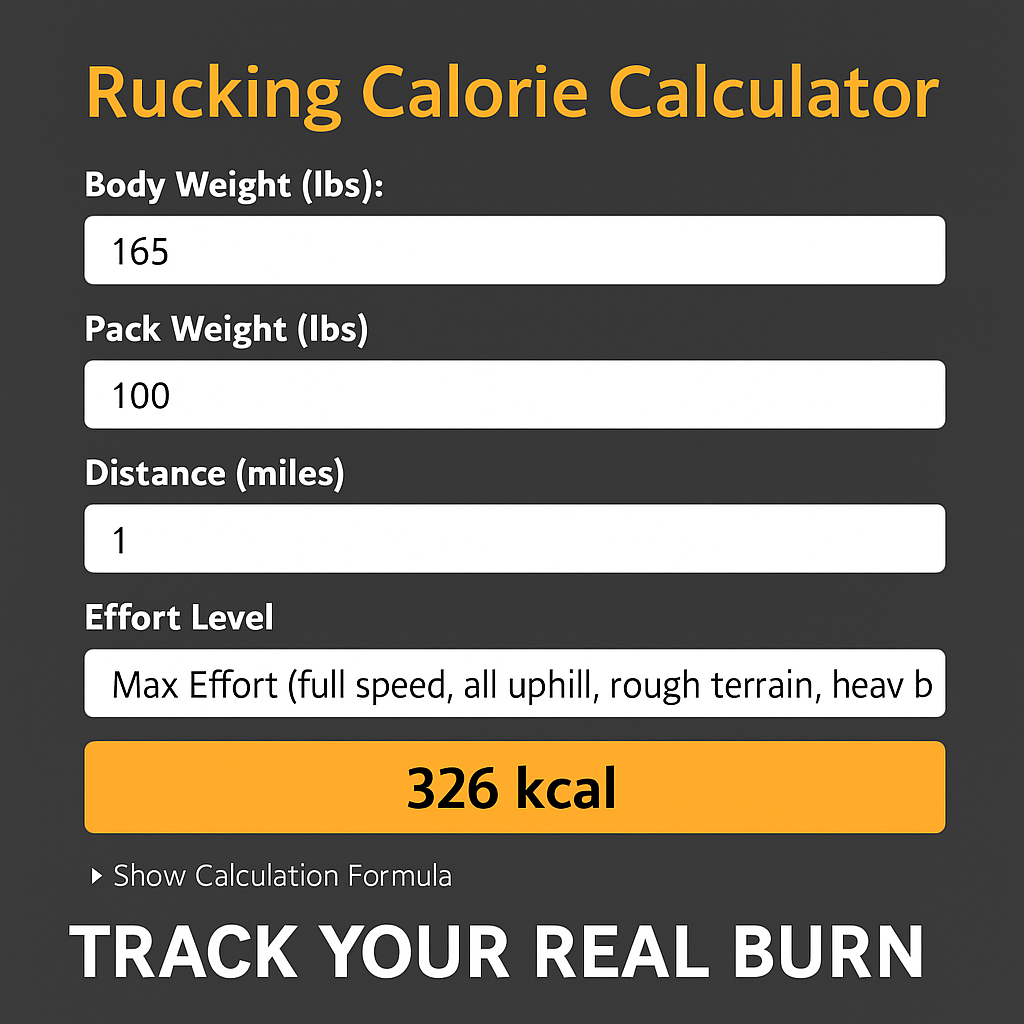
Estimate calories burned, then confirm with consistent weigh-ins and performance. Use the rucking calorie calculator below to get a tailored estimate for your weight, pace, distance, and load. I recommend checking numbers and then tracking weekly trends rather than obsessing over single days.

Tools that make daily rucking easier
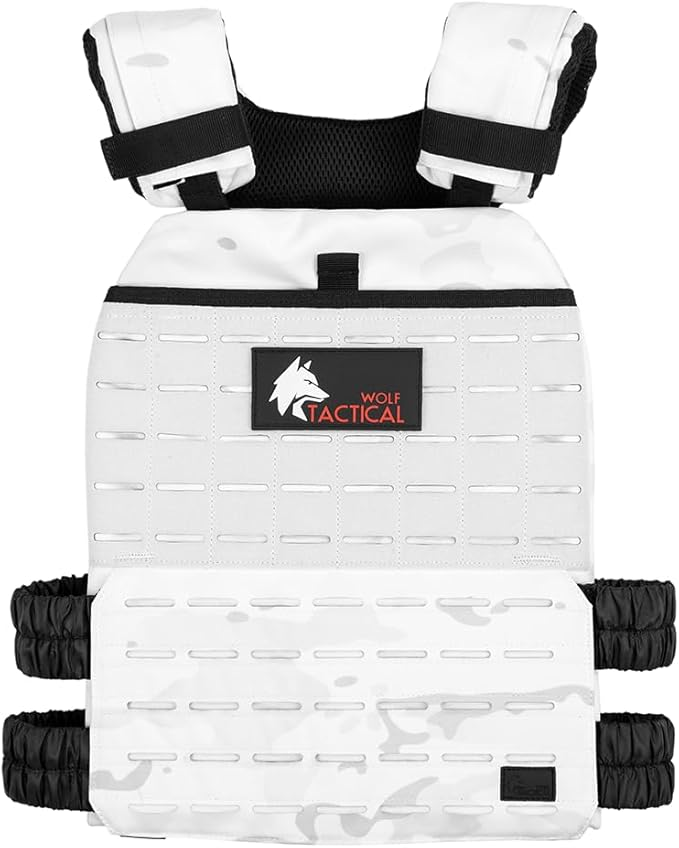
Use gear that reduces pain points: a comfortable weighted vest, good footwear, and hydration. For daily five-mile rucks consider a vest built for walking comfort and load distribution. I trust designs that allow micro-adjustments and breathable fabric so you can maintain daily training without chafing or sore shoulders.

Use an app to keep honest logs. The Rucking Pro app on Google Play tracks calories burned while rucking or using a weighted vest, offers a weight loss calculator, and links to gear and discounts.

Nutrition and recovery for daily rucks
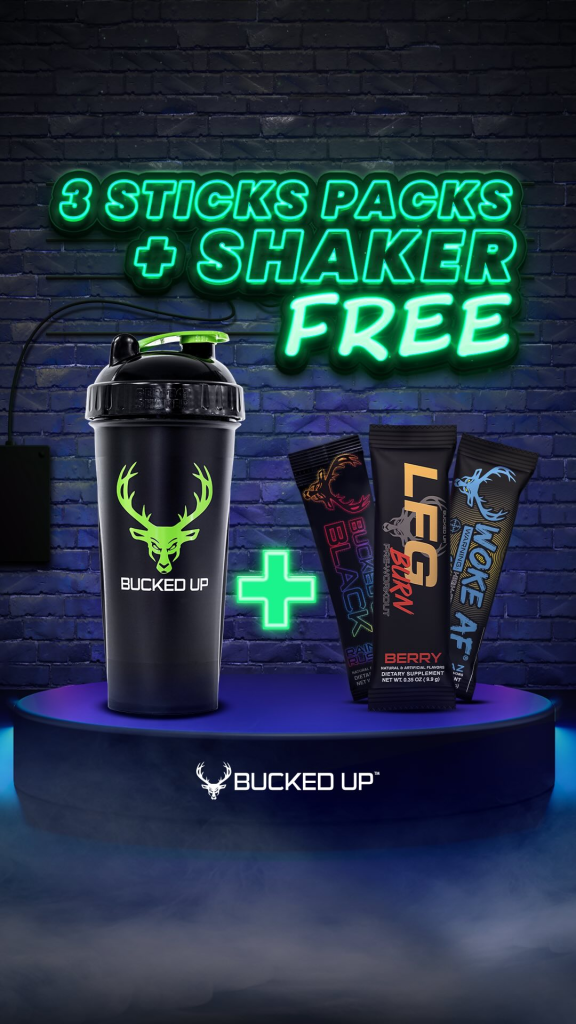
Rucking five miles daily creates a calorie gap you can manage with moderate dietary changes rather than extreme restriction. Prioritize protein, whole foods, and sensible portioning. Recovery habits — sleep, hydration, and mobility — matter more as volume increases. For long, hot rucks I carry electrolytes and a drink I trust during longer sessions.
Small strategy checklist
- Measure baseline weight and body measurements, then track weekly.
- Use the calculator linked above to estimate burn and plan a 250–500 kcal daily deficit.
- Adjust vest weight slowly and test different paces; feel beats theory.
- Schedule one day of active recovery and one day with lighter distance.
Preston Shamblen, who lost 90 lbs through rucking, weighted-vest work, and disciplined nutrition, still recommends weighted vests as a reliable way to maintain a lower body weight and burn fat consistently. His approach emphasizes consistency over perfection: small daily habits compound into sustainable change.
Final practical notes
Rucking five miles a day can be a powerful tool for weight loss when paired with sensible nutrition and recovery. Use the rucking calorie calculator above to set targets, log progress with the Rucking Pro app, and choose gear that keeps you training day after day. Start conservative, increase volume and load slowly, and measure trends over weeks rather than days.