Why posture matters when rucking with a weighted vest
Good posture matters more when you add load. A weighted vest changes your center of mass, amplifies small alignment errors, and increases repetitive stress. This guide focuses on practical cues, progressions, and gear to keep you moving efficiently and reduce injury risk during ruck walks or runs.
Key posture cues
Start with a neutral pelvis, tall chest, and relaxed shoulders. Think ribcage stacked over pelvis rather than leaning forward from the hips. Keep your chin slightly tucked, eyes forward six to ten meters, and maintain a steady cadence.
- Neutral spine: avoid overarching or rounding the lower back.
- Even shoulders: avoid shrugging; let weight settle into torso.
- Hip hinge on load: initiate power with glutes, not lower back.
- Short, quick steps: reduce vertical oscillation and impact.
Breathing and bracing
Learn to breathe diaphragmatically while bracing your core. Inhale into the belly, expand the lower ribs, then engage the abdominals gently. A braced midline supports vertebrae under load and improves endurance.
Setup and fit for posture
Proper vest fit is the first line of defense. A vest that rides up, shifts side to side, or pinches the shoulders forces compensations. Adjust straps so the load sits between your sternum and lower ribs and feels secure without restricting breathing.

Next paragraph: Consider a ruck with padded straps and sternum or waist stabilization for long efforts. For rucksack users the CamelBak Motherlode offers hydration and centers mass low on the torso, which can help posture on long marches.

Progression and programming
Start unloaded, master walking mechanics, then add small increments of weight. Use 10% bodyweight increments early and keep sessions brief and frequent. Alternate heavy ruck days with mobility and strength work focused on hips, thoracic spine, and posterior chain.
- Week one: walk 2–3 times without added load concentrating on posture.
- Week two: add light vest or small plate and practice 20–30 minute sessions.
- Week three: increase duration before adding more weight.
- Mobility: include thoracic rotations, hip hinges, and glute activation.
Troubleshooting common posture problems
If you feel low back fatigue, check hip hinge pattern and reduce load. Shoulder discomfort often means straps are too tight or the vest is pulling the shoulders upward. For forward lean, focus on cadence and hip drive, and shorten step length.
When to seek help
Persistent pain that changes your gait or creates numbness requires a professional assessment. A qualified coach or physical therapist can screen movement and program corrective drills.
Tools and resources
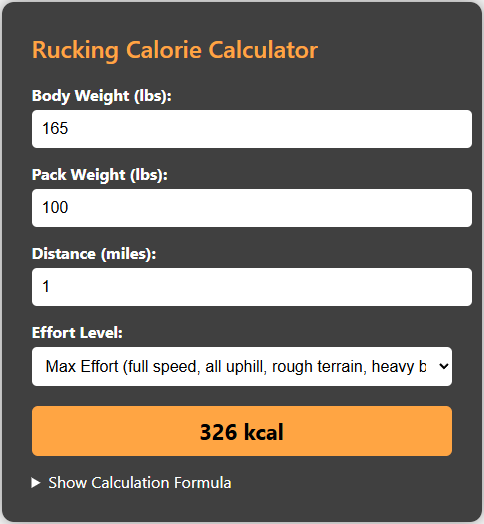
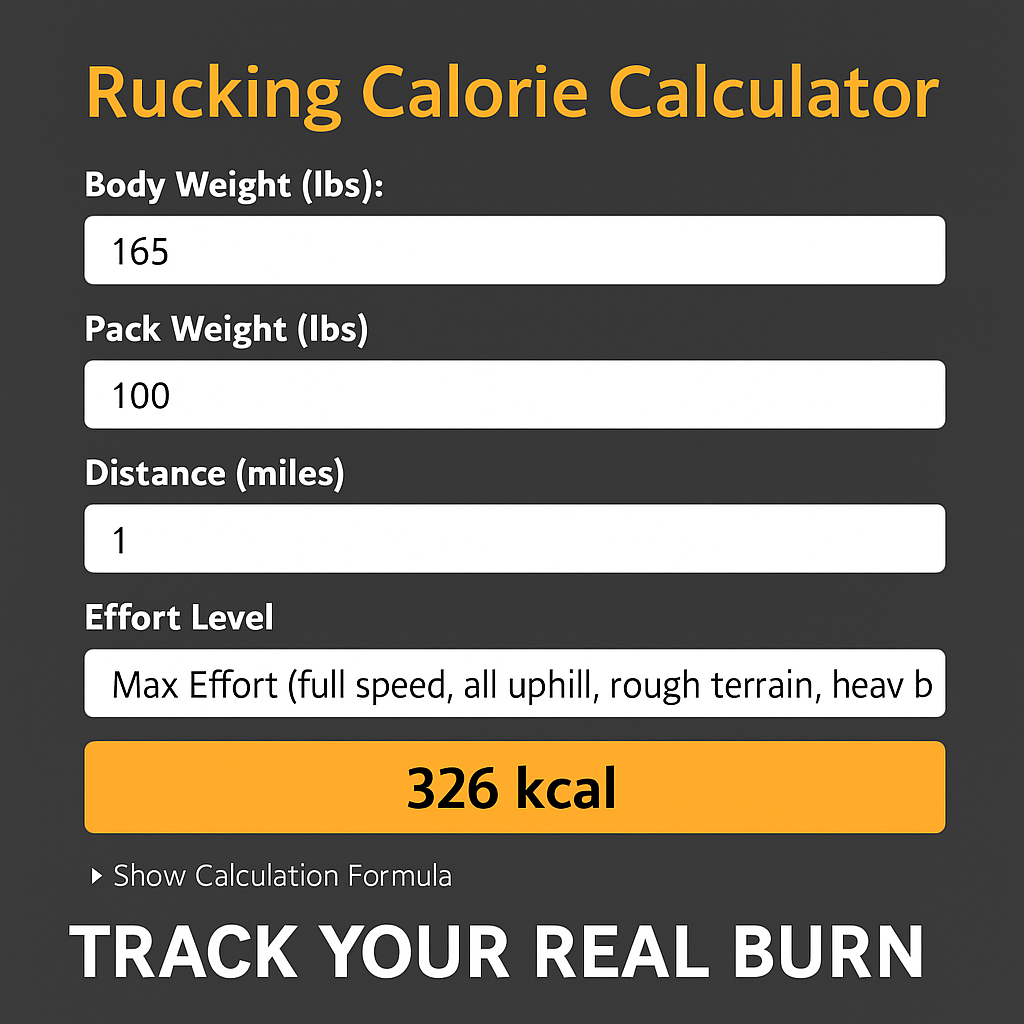
Track burn, pace, and load using the rucking calorie calculator on Rucking.Pro. It helps estimate calories burned for weighted vest and backpack rucking and is a practical tool for planning training and weight loss. Click the screenshot to try it.

For on-the-go tracking use the Rucking app on Google Play. It records calories burned for ruck and weighted vest sessions, provides a weight loss calculator, links to gear and discounts, and keeps a log of your progress.

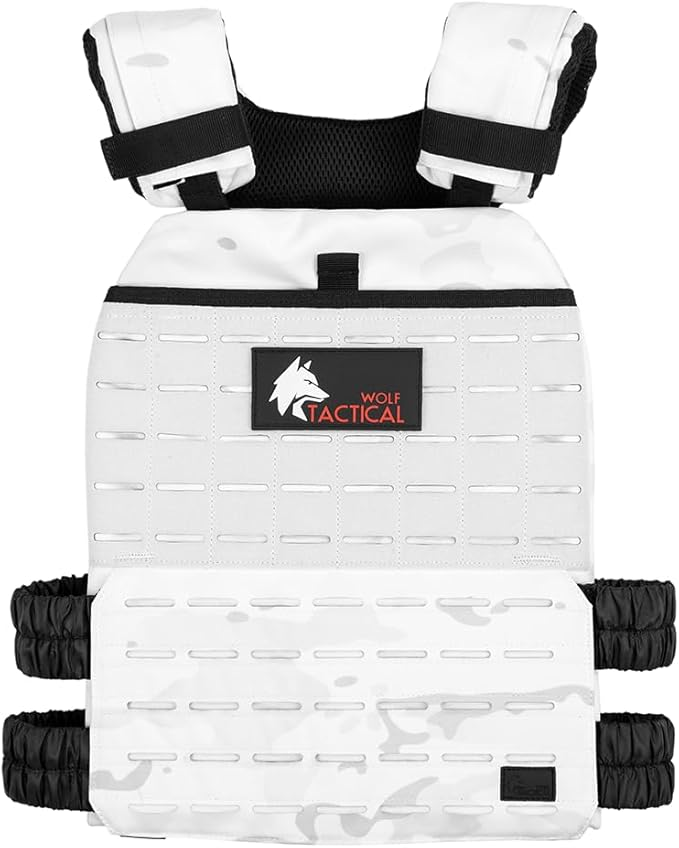
Comfortable gear helps maintain posture under load; consider beginning with the Wolf Tactical Simple Weighted Vest for fit and adjustability and the CamelBak Motherlode for hydration and long distance comfort. Use progressive programming and stay focused on technique.
Sample posture drills and daily checklist
A short daily routine reinforces posture under load and reduces compensatory patterns. Do these drills before a ruck or on recovery days. Each drill should be performed with intent and slow control rather than speed.
- Glute bridges: 2–3 sets of 8–12 to teach hip extension.
- Dead bugs: 2–3 sets of 8–10 per side for core stability.
- Band pull-aparts: 2–3 sets of 12–20 for scapular control.
- Farmer carry: short carries with moderate load to practice upright posture.
Use a simple checklist: check shoulder relaxation, confirm sternum alignment, test breathing pattern, verify strap snugness, and do a two minute walk to evaluate comfort. If any item fails, adjust fit or reduce load. Tracking sessions and perceived effort helps program safe progress.
Final practical notes
Avoid excessive single long rucks early in your progression. Frequent moderate sessions build posture and tissue tolerance with less risk. Pair rucking with posterior chain strength and mobility at least twice weekly. Hydrate and check footwear for wear patterns that encourage pronation or hip drop. Use the calculators and app to monitor load, calories, and recovery and make adjustments based on objective data. Train smart, ruck strong.