Rucking for Knee Pain: How to Ruck Safely and Reduce Joint Stress
Rucking for knee pain can be a safe, practical way to maintain fitness while reducing joint stress when you follow a few simple rules.
I write from the field and the trail; these are the techniques I use with clients who need conditioning without aggravating sensitive knees.
Principles
Treat rucking as a measured progression: reduce impact, control load, increase time gradually, and prioritize movement quality.
When to choose rucking
Rucking for knee pain is appropriate if you have pain with running but tolerate walking; if you have inflammatory joint disease check with a clinician first.
If pain occurs during or after a ruck, scale back and address form or strength deficits.
Load and progression
Start with a lightweight vest or a small pack and focus on step cadence and posture. My recommendation is to keep initial loads under ten percent of body weight and increase no more than five percent of body weight per week.
If you already have strengthening in place, you can tolerate higher loads, but knee-centered pain means favoring shorter duration and more frequent sessions.
Choose soft surfaces when possible to reduce impact: trails, grass, or packed dirt beat asphalt for sensitive knees.
Form cues
Good rucking posture protects knees and hips. Keep a tall torso, avoid forward flexion from the lumbar spine, and let the legs drive with a slightly shorter stride than your running stride.
Step quietly and land midfoot to distribute forces; avoid heavy heel stomps which transmit jarring loads into the knee.
Strength and mobility
Strength is the single best protector of joints. Prioritize single leg exercises, hip hinge patterns, and quad eccentric control. Add these drills twice weekly:
- Bulgarian split squats, 3 sets of 6–10 reps
- Nordic or slow eccentric squats, controlled tempo
- Glute bridges and single leg RDLs for hip stability
- Calf raises and mobility work for ankle dorsiflexion
Gear and shoe choices
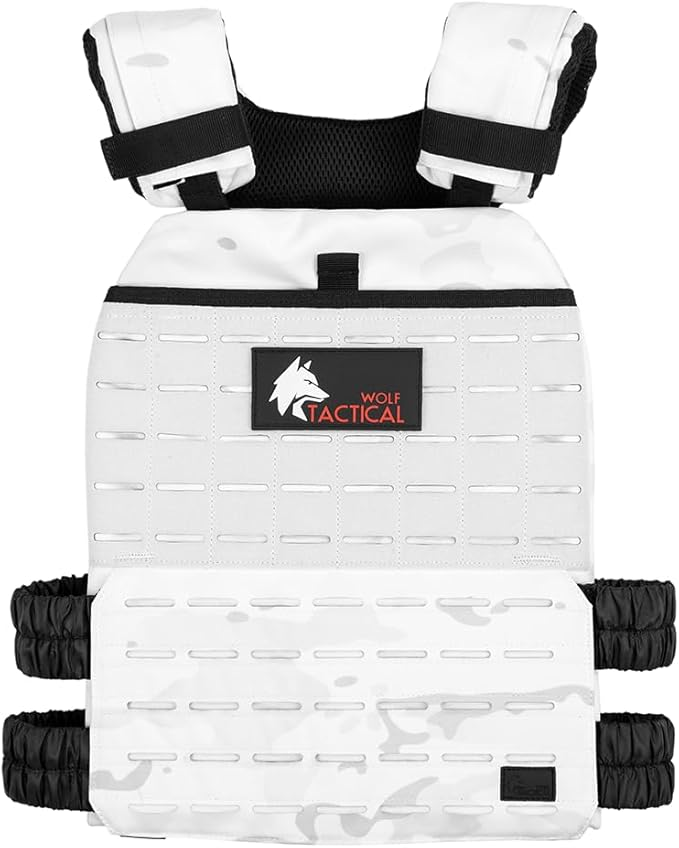
Prefer a vest or pack that hugs the torso and limits bounce. Padding and load distribution reduce micro‑shear at the knee. For comfort-minded rucking try the Wolf Tactical Adjustable Weighted Vest.

If you plan long distances or need hydration carry the CamelBak Motherlode for water and modular storage.

Pacing and recovery
Use time on feet rather than speed to build endurance. Aim for several shorter rucks per week rather than a single long grind. Between sessions prioritize foam rolling, quad soft tissue work, and easy walking to promote blood flow.
If pain flares increase time between sessions and regress load back to walking with no added weight.
Tools and tracking
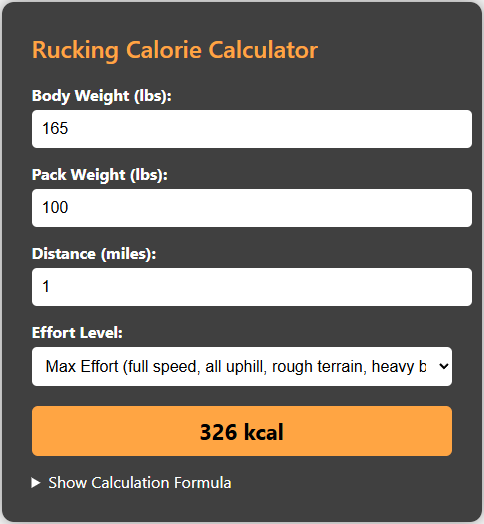
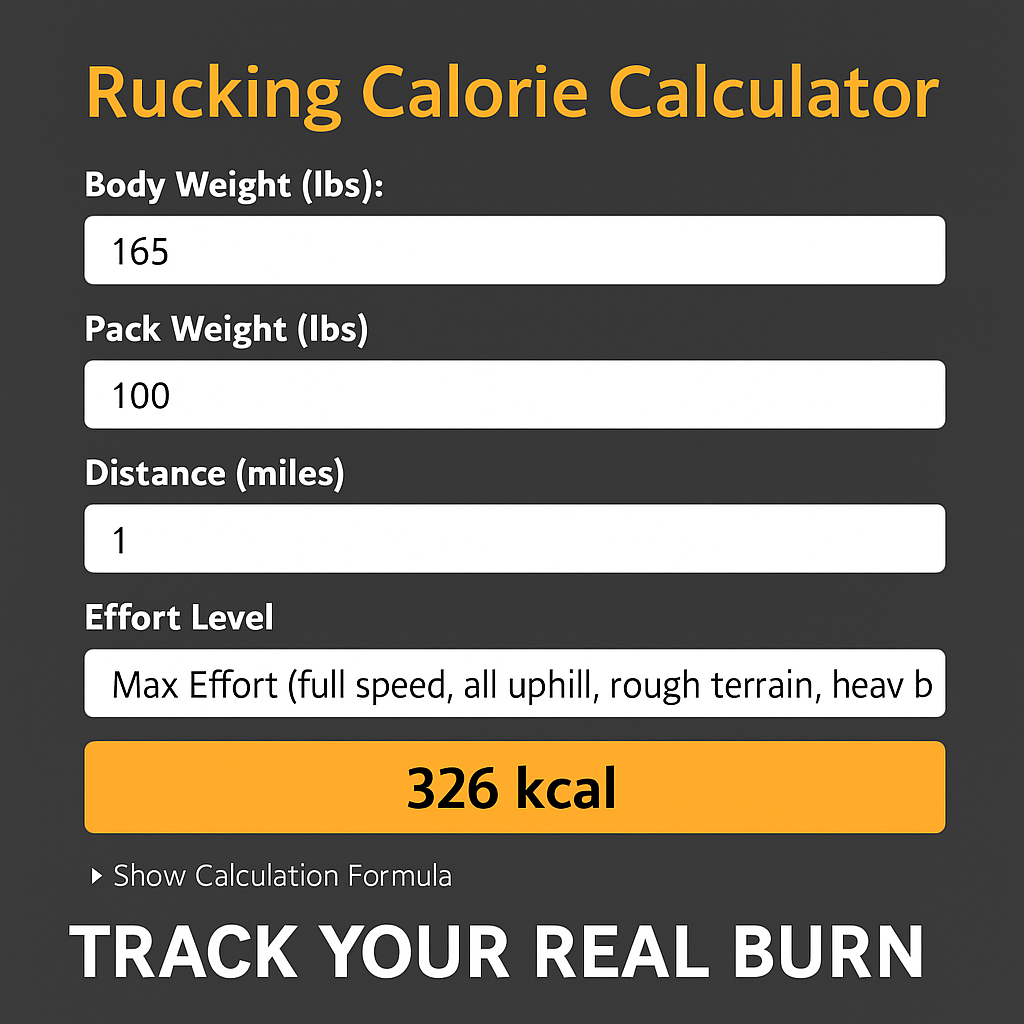
Tracking helps you progress without hitting pain thresholds. Use the rucking calorie calculator to estimate effort and monitor session dose.

Calculate your rucking calories with the Rucking Calorie Calculator.
For Android users install the rucking app on Google Play to track calories, use a weight loss calculator, and link gear discounts.

Summary takeaways
Rucking for knee pain is achievable when you manage load, strengthen supporting musculature, choose supportive gear, and prioritize recovery. Start light, progress slowly, and use tracking tools to keep workouts on the helpful side of pain.
Consult a clinician for inflammatory conditions or acute injuries. Small consistent steps preserve joint health and keep you moving outdoors.
Sample four-week plan
Sample four-week plan (for persistent knee sensitivity): Week one focuses on frequency and low load. Aim for three 20–30 minute walks with no weight. Week two introduces a 5–10 pound vest or 5% bodyweight pack on two sessions while keeping one session unweighted. Week three increases two sessions to 30–45 minutes with the vest and one unweighted recovery walk. Week four repeats week three and adds a short strength session after one ruck. Adjust based on pain and recovery.
Common mistakes
Common mistakes that worsen knee pain include adding too much weight too quickly, using a pack that bounces, letting knees cave on hills, and ignoring unilateral strength deficits.
- Rushing progression instead of tracking dose.
- Poor footwear lacking stability or cushioning.
- Neglecting hip and ankle mobility work.
- Skipping recovery days and sleep.
When to stop and seek help
Stop rucking and see a medical professional if you experience swelling that does not reduce within 48 hours, new locking or instability in the knee, or sharp pain with specific movements. A physical therapist can assess biomechanics and assign targeted exercises to correct muscle imbalances.
Use the rucking calorie calculator and the app to quantify session load and avoid blind jumps in weight. Proper gear such as the Wolf Tactical vest and the CamelBak Motherlode help distribute weight and keep hydration available. Consistency and conservative progression protect knees while letting you enjoy outdoor rucks for years.
If unsure begin with a clinician or coach, and track progress to stay out of flare zones. Happy rucking — smart steps preserve knees and fitness outdoors. Stay safe.